Configure Custom Domain in Private Space : CloudHub 2.0
With CloudHub 2.0, applications are deployed in public spaces or private spaces. Private space isolates the applications deployed, and different network customizations can be done within the private space. Earlier in CloudHub 1.0, DLB used to be configured to balance the incoming load along with configuring the custom/vanity domain instead of using *.cloudhub.io
We can configure vanity/custom domains in the private space, avoiding accessing the applications through the default *.cloudhub.io domain. Configuring the custom domain will require the public certificate and the private key as a prerequisite.
Generating the self-signed public certificate and the private key
1. Create a config file as below, name it config.cfg, and change the values as per the domain details.
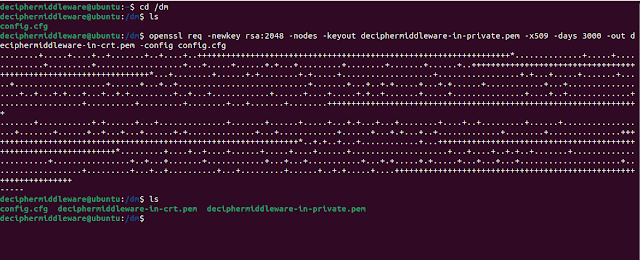
This will generate 2 files: a public certificate and a private key. These 2 files will be used in the later stage.

Steps: Anypoint Platform
Let's now log in to the Anypoint Platform.
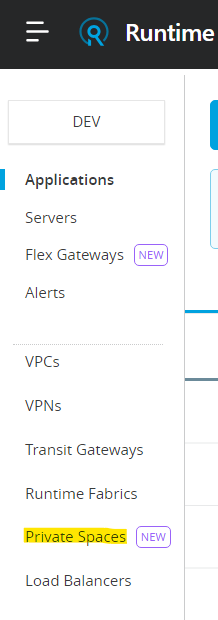
1. Go to Runtime Manager and click private spaces.
2. Select the private space, where the custom/vanity domain needs to be configured. Click on Domains & TLS.

3. Click on Create TLS Context.


5. Enter the keystore password, if the keystore was encrypted. If you have CA signed certificate upload that as well.

6. Click on Create TLS Context.


8. Open any CloudHub 2.0 application deployed in the Private Space. Go to settings. Click on Ingress, and click on Add Endpoint.


10. Before using the custom domain, make sure the DNS record with the following values is being configured.
| Record Type | CNAME |
|---|---|
| Host (or Name) | wildcard or wildcard with subdomain (*.mule used in the current example) |
| Value (or Content) | Private Space default hostname |
Validate if the DNS record is working
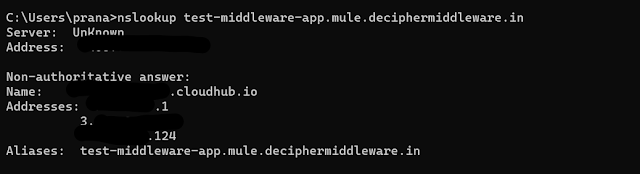
Apps can be accessed using the custom/vanity domains.

Comments
Post a Comment