AnyPoint Platform: Sign In. Enter your username or password.
JD: Here you go!
AnyPoint Platform: [ERROR] Incorrect username or password.
JD: Let me try another one!
AnyPoint Platform: [ERROR] Incorrect username or password.
JD: Ahhh! So many credentials to remember.
    Why can't it have just SSO tied to it?
JD: Let's enable...
    ███████╗███████╗ ██████╗
    ██╔════╝██╔════╝██╔═══██╗
    ███████╗███████╗██║   ██║
    ╚════██║╚════██║██║   ██║
    ███████║███████║╚██████╔╝
    ╚══════╝╚══════╝ ╚═════╝
Single sign-on (SSO) is an identification method that enables users to log in to multiple applications and websites with one set of credentials. SSO streamlines the authentication process for users.
No more remembering of credentials for different applications/websites.
There are many SSO providers available in the market with various offerings. For example: Okta, Microsoft Entra ID, Auth0, etc.
For this blog, we will be using Auth0 for configuring SSO in AnyPoint Platform.
Auth0: Single Sign-On (SSO) lets users authenticate once and access all applications in the same tenant without re-entering credentials.

Let’s enable SSO on AnyPoint Platform using Auth0 Provider.
SETUP TIME
Outline
Auth0 Configurations
Login to Auth0
- Login to auth0 with your credentials. If you do not have an account, create a new account.
Create Connections
- Navigate to Auth0 Dashboard > Authentication.
- Select a connection type: (Database, Social, Enterprise, Passwordless)
- For simplicity, use the Database as the connection type.
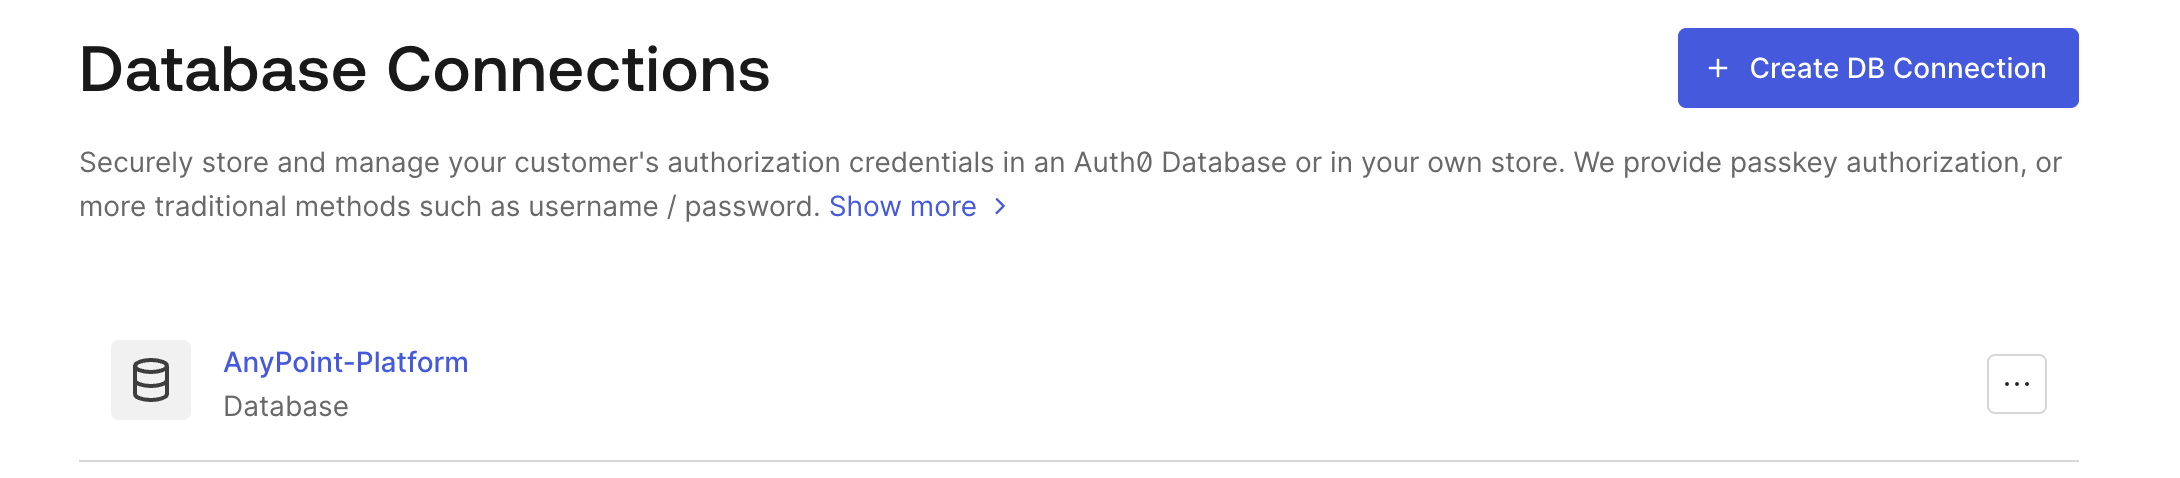
- Click on + Create DB Connection.
- Enter a name for the database connection, e.g.
AnyPoint-Platform. - Enable Email Address and username as user identifier.
- Click on Create. A database connection will be created.
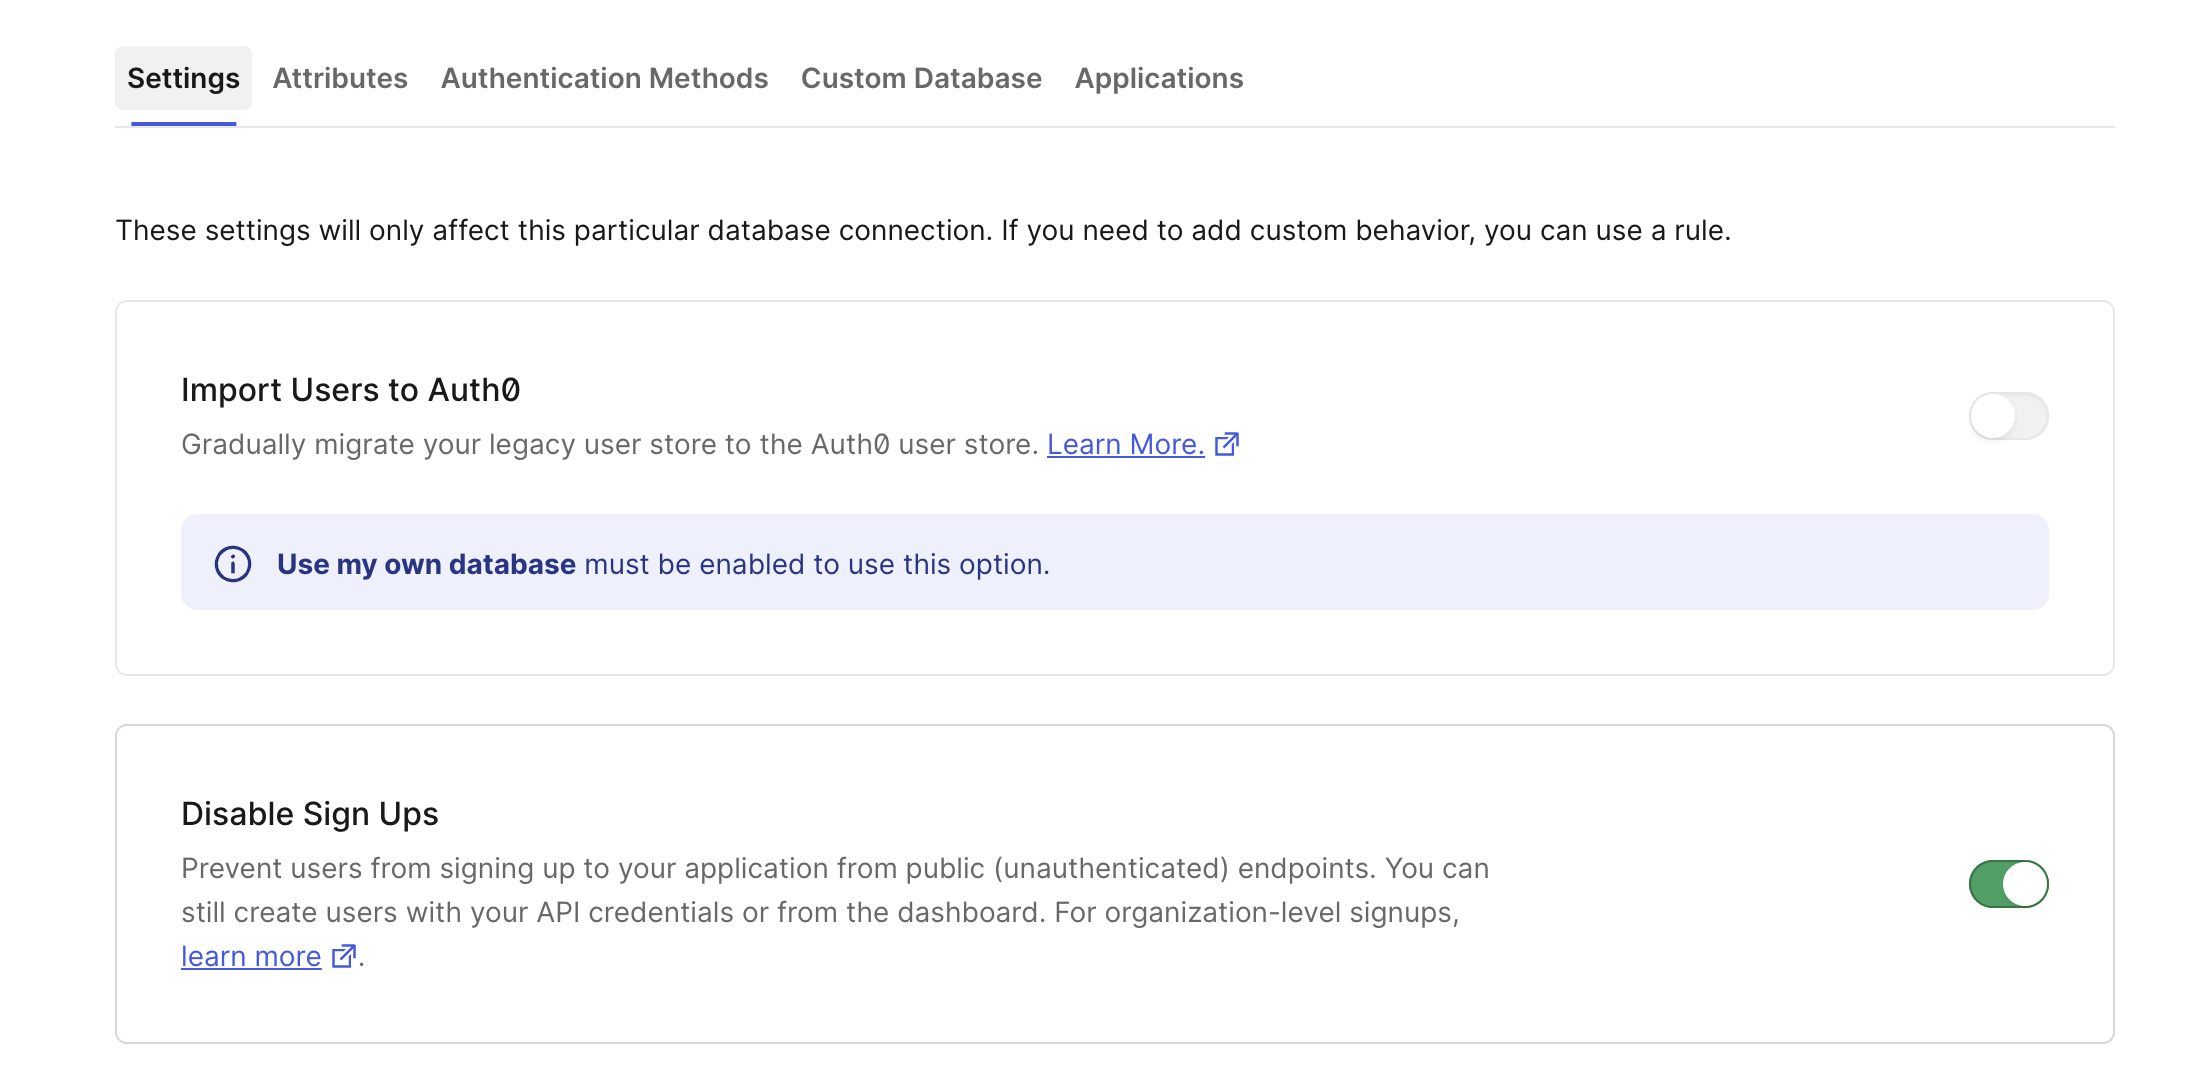
- Toggle Disable Sign-Ups to disable anyone from signing up. This will allow only admins to manage users.
Create Application
- Under Applications, click on Applications. Then click on + Create Application.
- Enter the application name(e.g.
Login Screen). Select Single Page Application. Click on Create - Under Connections, enable the connection created in the Create Connections section.
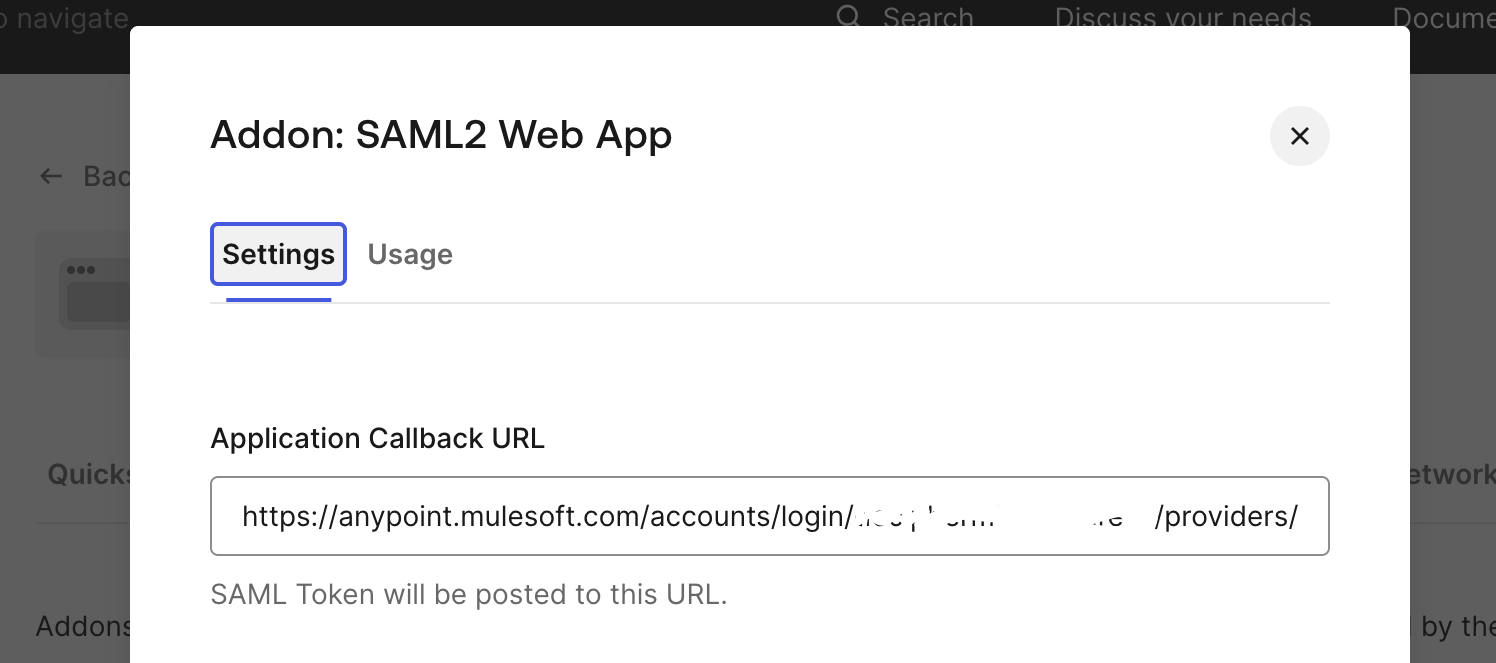
- Under Addons. Click on SAML2 WEBAPP.
- Click on Download in front of Identity Provider Metadata:
- With this metadata, configure the IdP in Anypoint Platform.
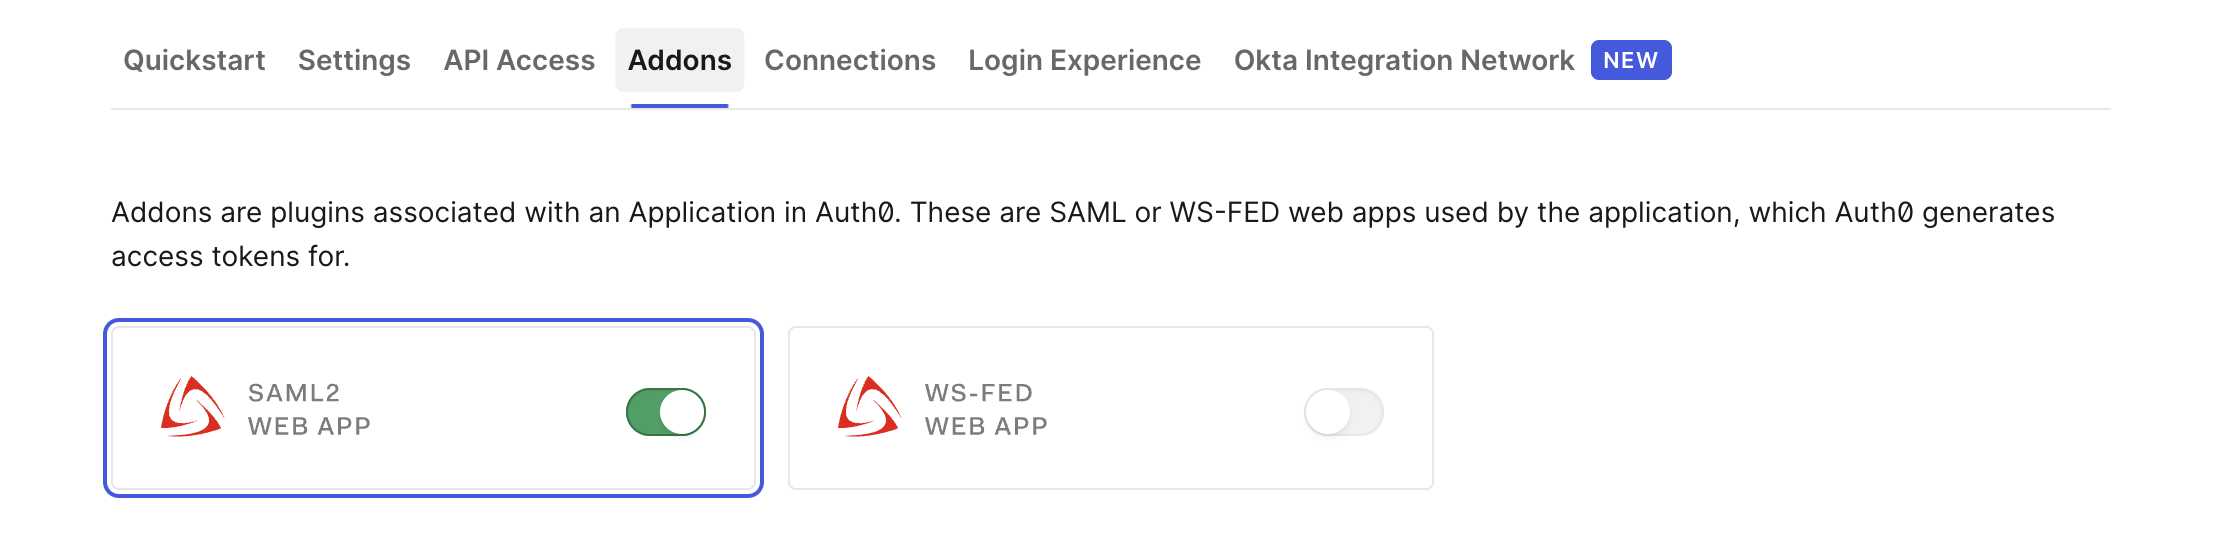
- Fetch the ACS URL and use it under settings for SAML2 WEBAPP. Save the configuration to enable SAML2 WEBAPP.
SSO
- Under Applications, click on SSO Integrations. Then click on + Create SSO Integration.

- Search and select “AnyPoint”.
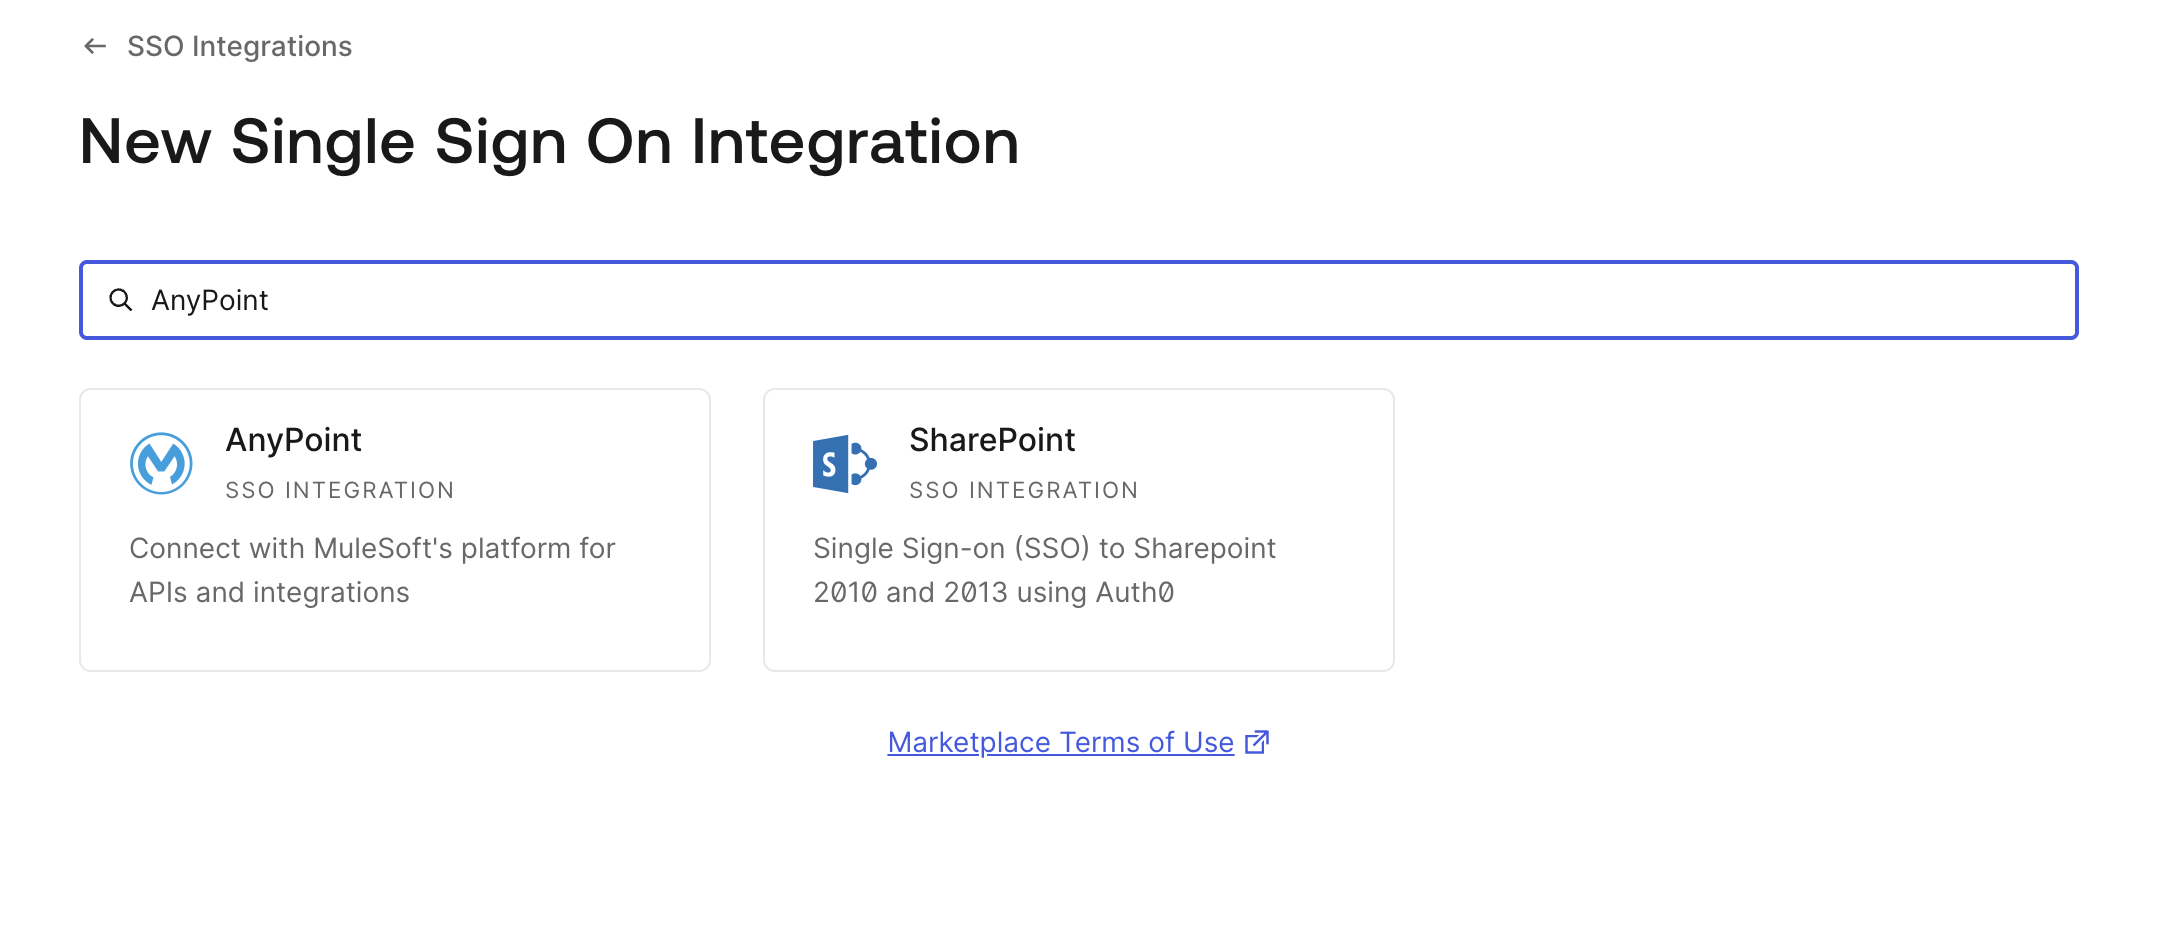
- Click Continue.
- Under General, Enter the Name (e.g. AnyPoint-Platform).
- Enter the ACS URL in the format below. Take the URL from the provider created in AnyPoint Platform.
https://anypoint.mulesoft.com/accounts/login/{organization}/providers/{id}/receive-id
- Enter the Audience URL in the format below.
https://{domain}.anypoint.mulesoft.com
Replace {organization}, {domain} with the information from AnyPoint Platform. You can find these details by going to Access Management > Business Groups > Your Org
- Click on Save.
User Management
To add users in Auth0.
- Click on User Management. Click on Users.
- Click on + Create User.
- Click on Create via JSON.
- Select the Connection created in Create Connections section e.g.
AnyPoint-Platform. - Paste the below JSON by updating with relevant user information. Click on Create.
{
    "email": "johndoe@example.com",
    "family_name": "Doe",
    "given_name": "John",
    "name": "John Doe",
    "username": "j_doe",
    "password":"SecurePassword"
}
The user will be added to the connection and can be used to login to Auth0.
AnyPoint Platform
Let’s add the final piece to the puzzle and configure changes on AnyPoint Platform.
Identity Providers
- Log in to AnyPoint platform
- Click on Access Management.
- Click on Identity Providers.
- Click on Add Identity Provider
- Specify name “Auth0”.
- Click on Choose File under Import IdP metadata. Use the file downloaded in the Create Application
- Under Audience, enter the Audience URL in the format below.
https://{domain}.anypoint.mulesoft.com
- Click on Save Changes.
- Click on the Auth0 provider. Copy the ACS URL; this will be used to configure the SSO in Auth0.
- Click on the Adavanced Settings. Update the Attributes as below.
Now, configuration is done. The moment of truth. Let’s test it.
Moment of truth
Sign in
- Login using the below url.
https://anypoint.mulesoft.com/login/domain/{domain}
Update {domain} with the domain of the AnyPoint Platform.
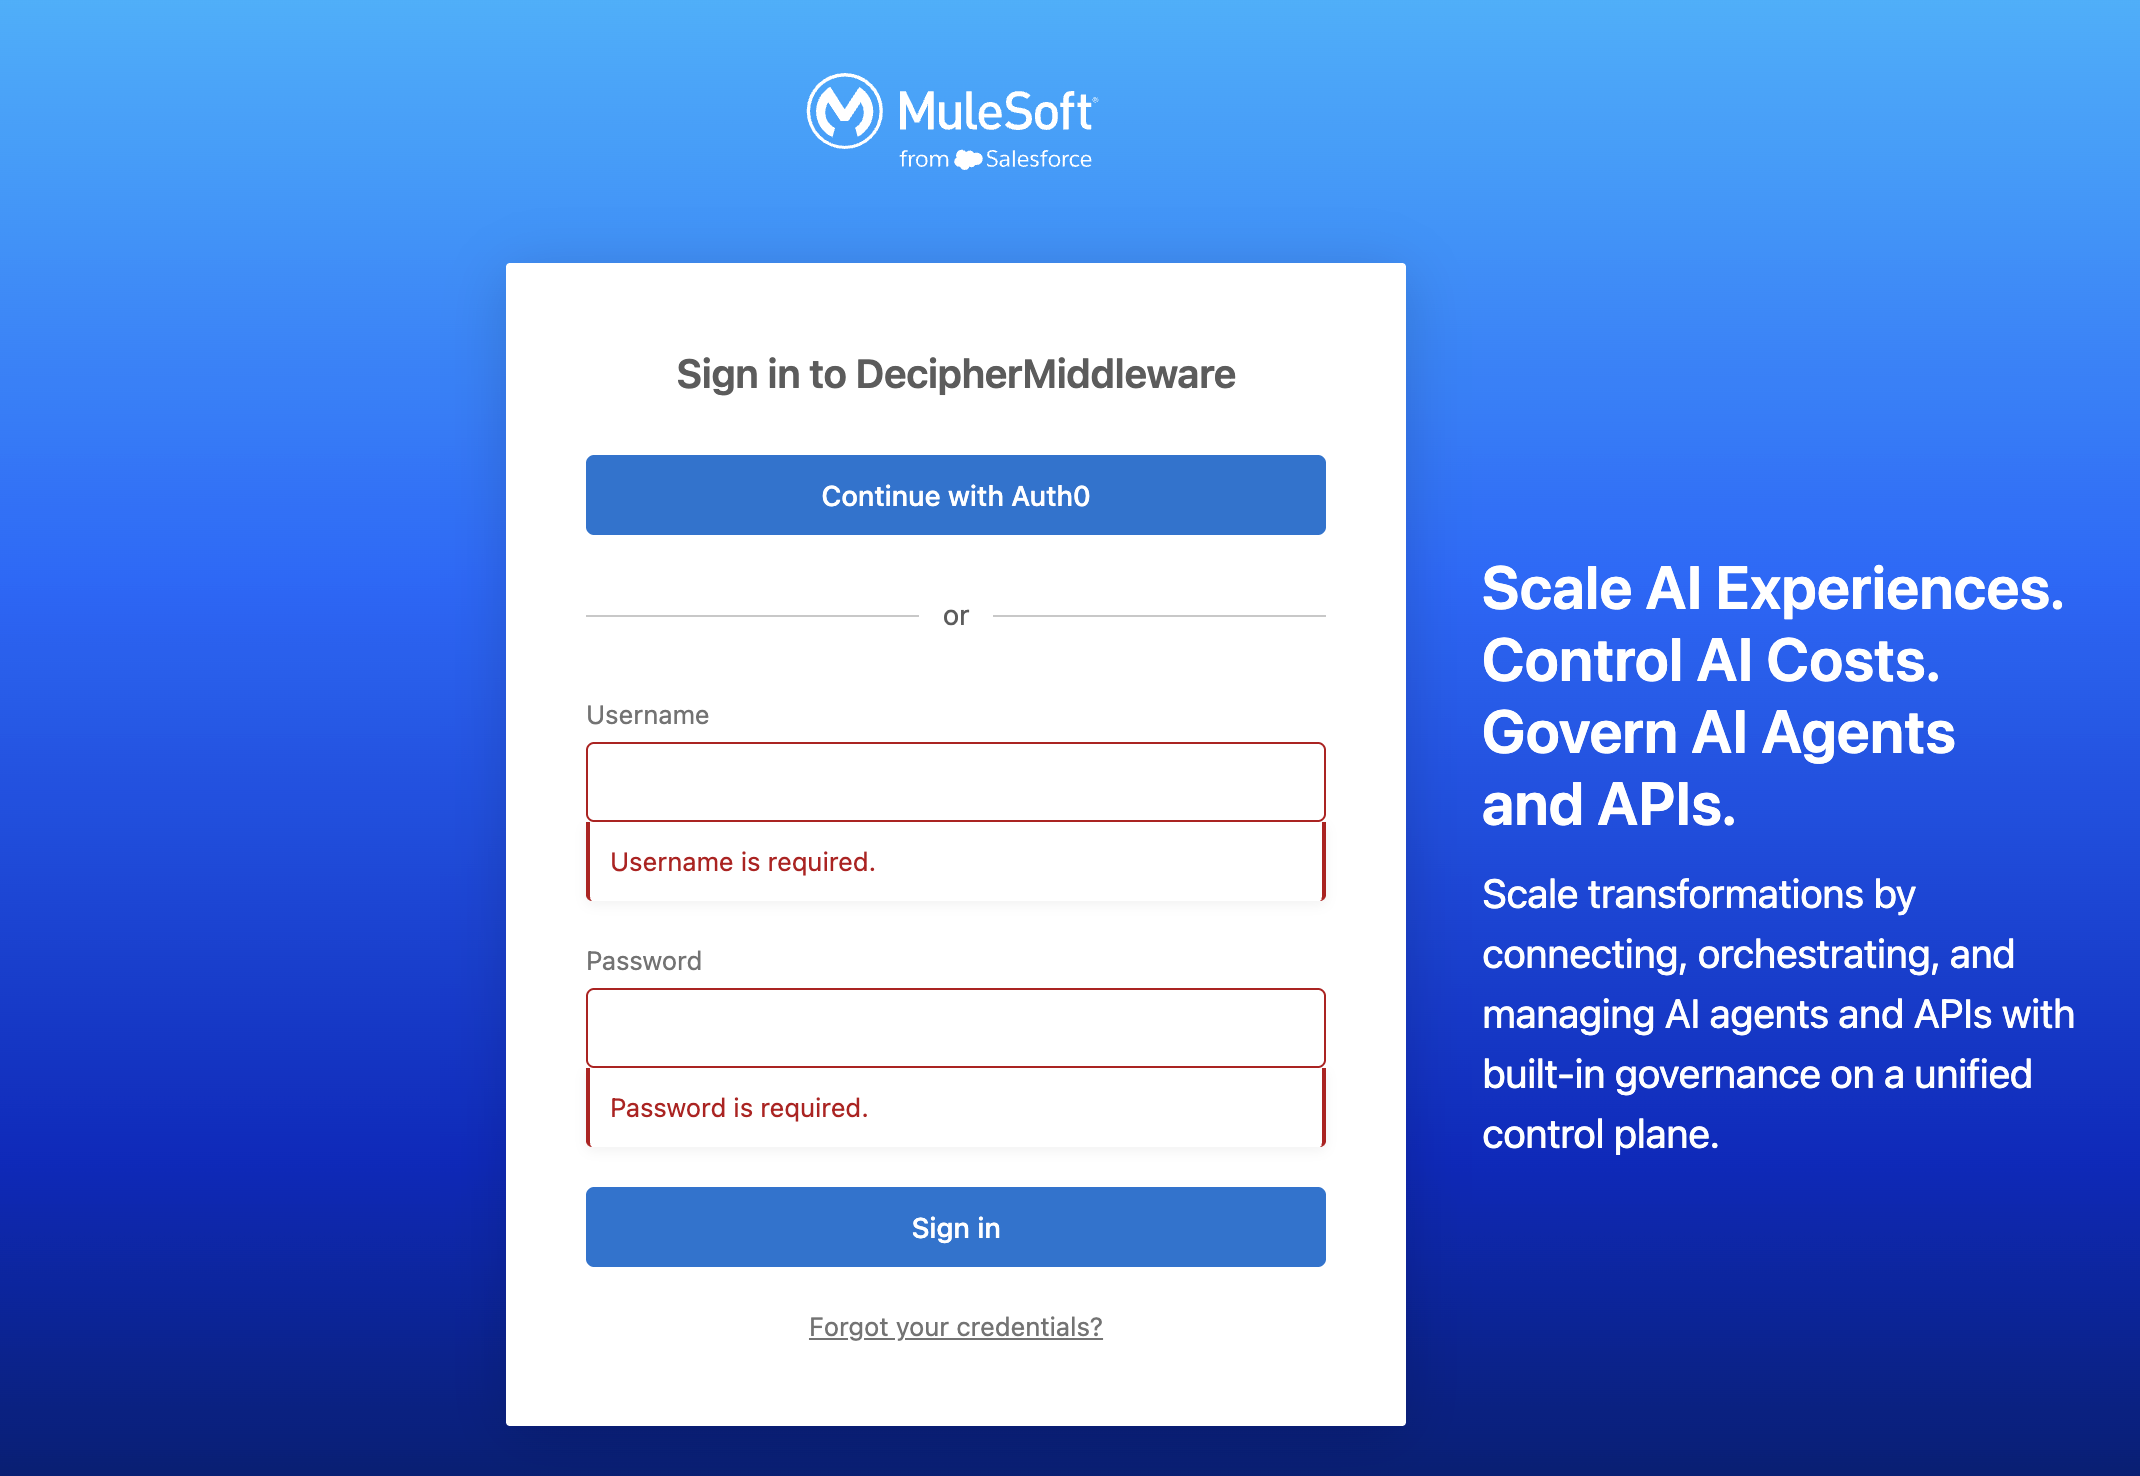
Click on Continue with Auth0.
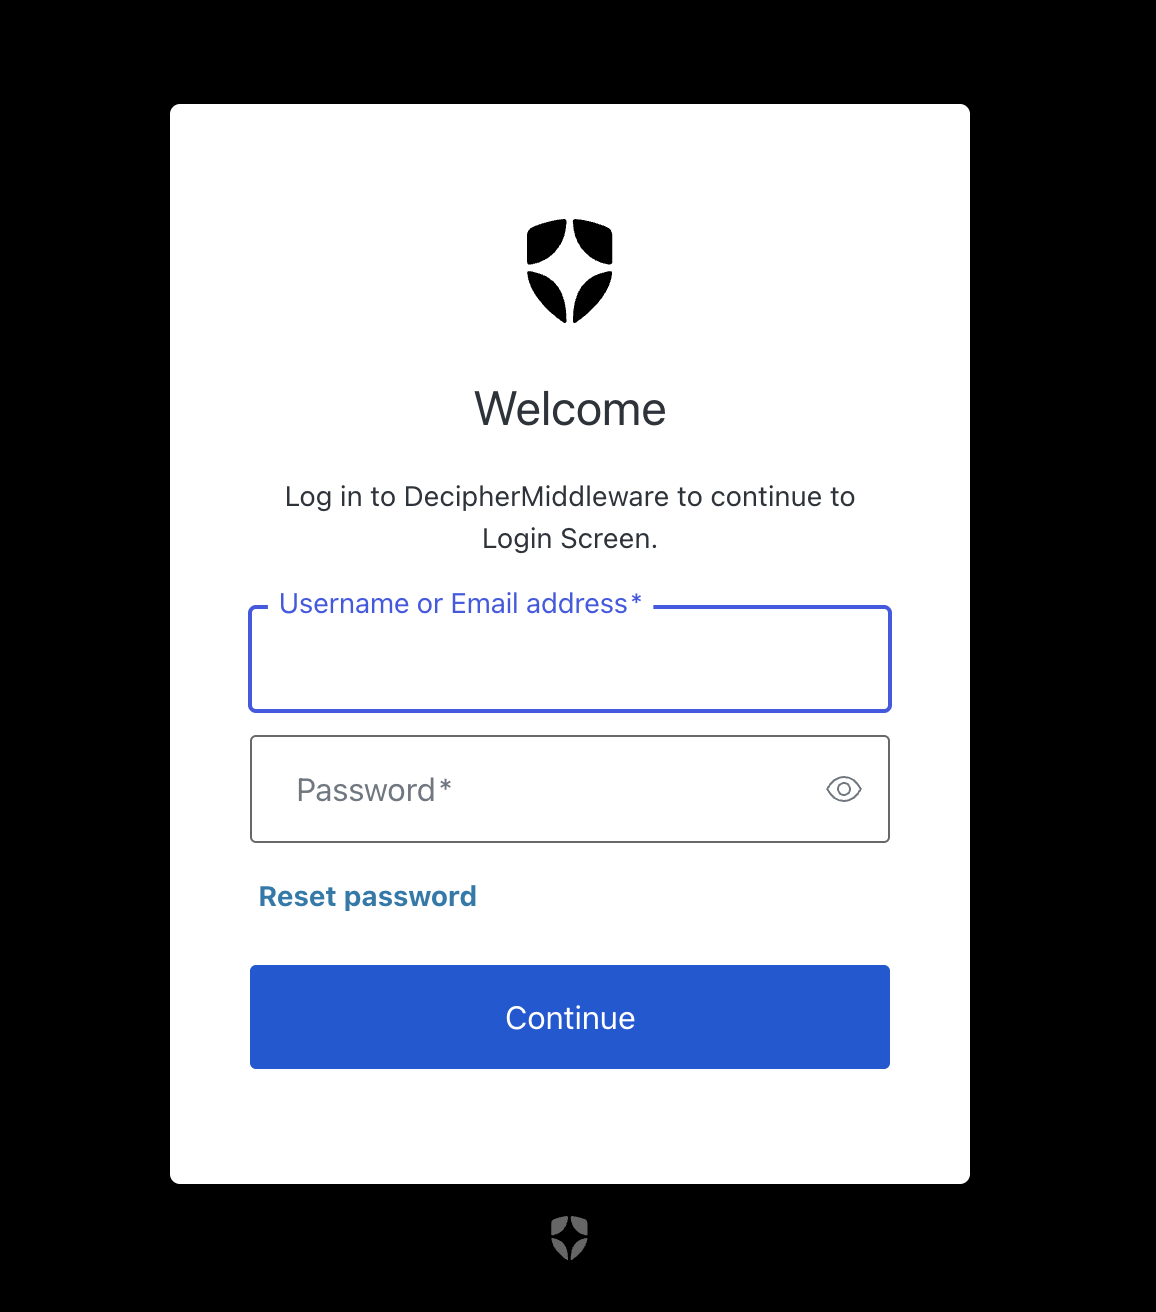
Enter your Auth0 credentials, configured during the user creation. Click Continue.
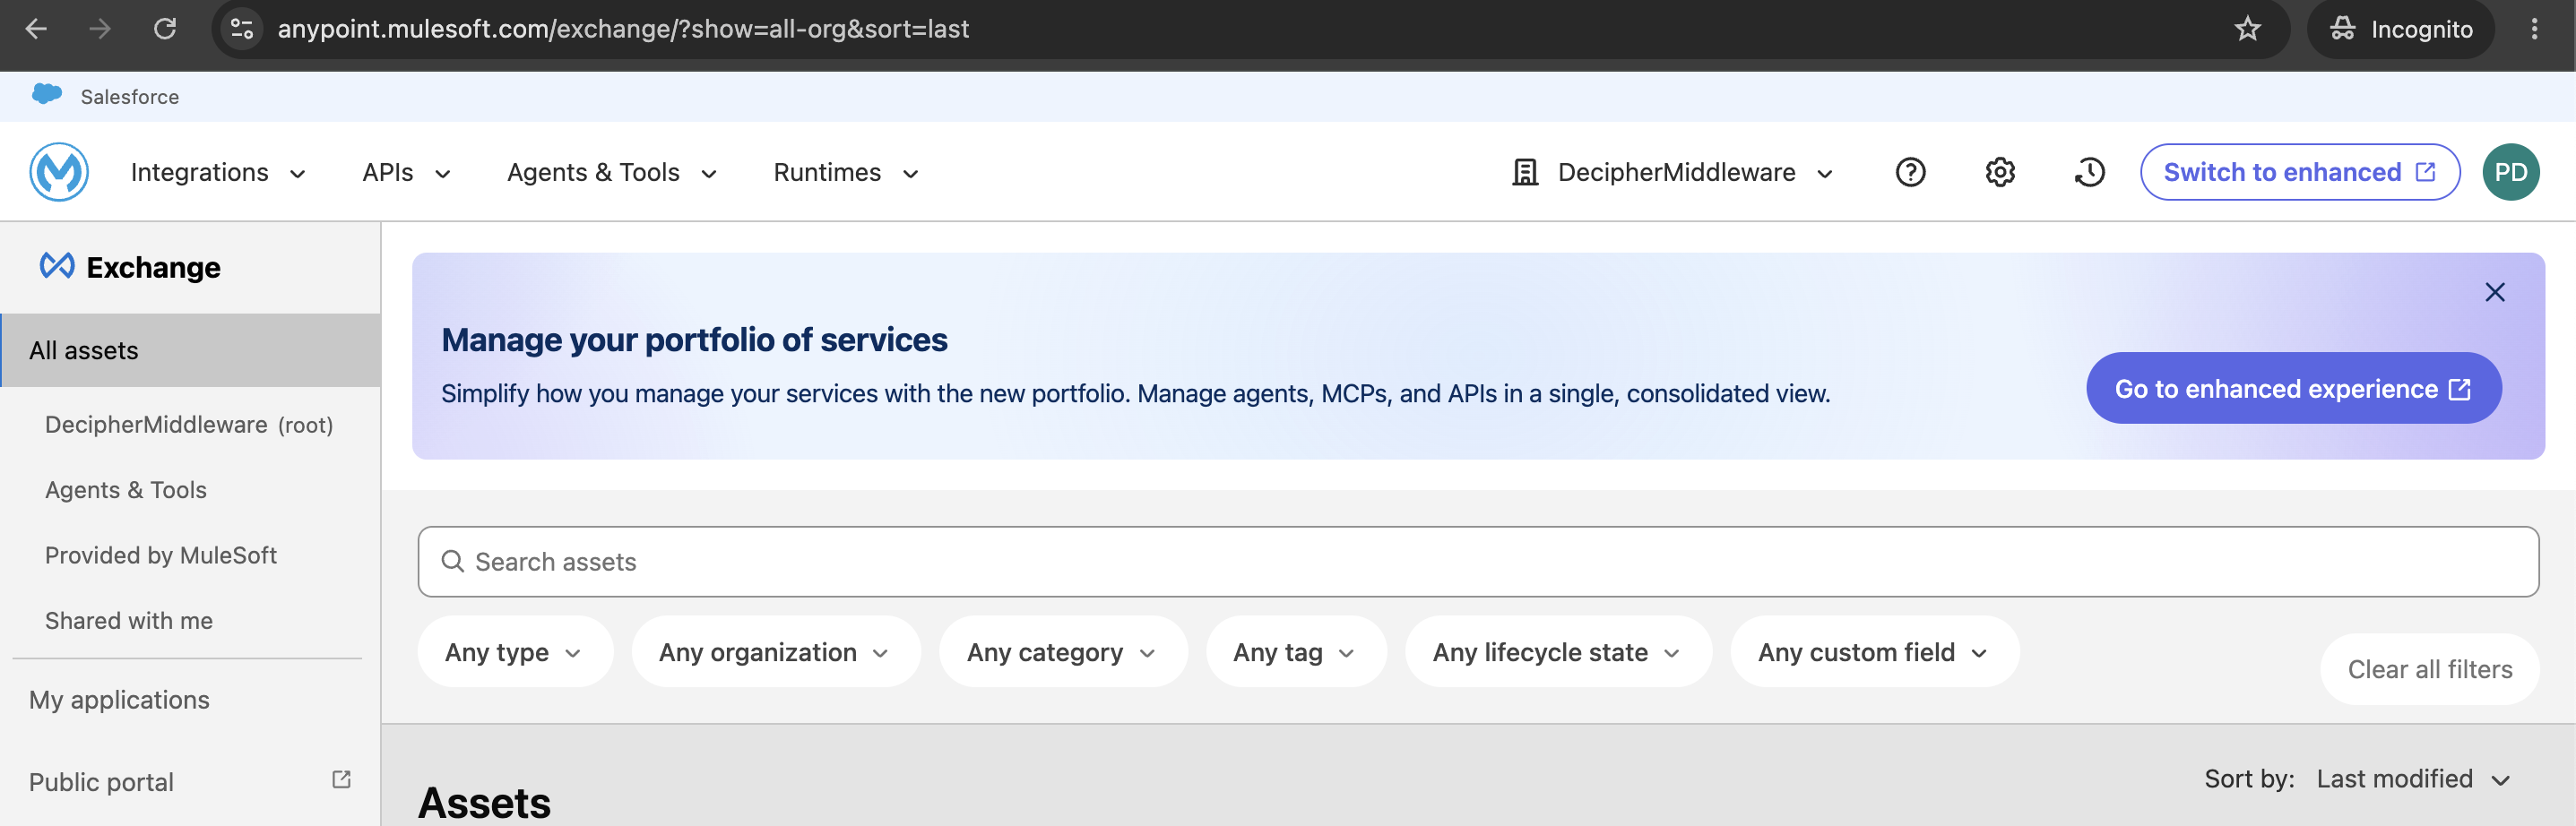
Sign out
- Click on user icon on the top right corner. Click |-> Sign Out.
missing client.addons.samlp.logout.callback

This wasn’t smooth… Sign in is working but Sign out is giving issues.
Fix
- Add the below configurations in Application. Go to Addons and then SAML2 WEB APP.
- Update the settings with the below JSON by updating {domain}.
{
  "nameIdentifierProbes":[
    "http://schemas.auth0.com/username"
  ],
  "logout": {
    "callback": "https://anypoint.mulesoft.com/accounts/logout/receive-id?redirect_uri=https%3A%2F%2Fanypoint.mulesoft.com%2Faccounts%2Flogin%2F{domain}",
    "slo_enabled": true
  }
}
- Click on Save.
- Now perform the Sign-Out.
IT WORKS!!!

Resources
- https://auth0.com/docs/authenticate/identity-providers/view-connections
- https://auth0.com/docs/authenticate/database-connections
- https://docs.mulesoft.com/access-management/conf-saml-sso
- https://www.samltool.io/
- https://www.fortinet.com/resources/cyberglossary/single-sign-on
Please share your valuable feedback 😄😄😄!!!