As an Integration and DevOps engineer, I’ve spent countless hours staring at black and white screens — vim, vi, nano, writing, running, testing, and shipping scripts, all from one home:
The OG
echo "terminal"
Coding agents just moved in.
## Antigravity
agy
## GitHub Copilot
copilot
After experimenting with IDE coding agents — building MuleSoft applications using MuleSoft Vibes/ACB right inside VS Code — I wanted to take it further. Back to where I’m most comfortable.
Let’s spin up a CLI coding agent, and arm it with MuleSoft DX MCP Server to interact with Anypoint Platform - straight from the terminal.
Table of Contents
MuleSoft DX MCP Server
MuleSoft DX MCP Server supports API design, application deployment, and asset management
Features
- API specification development
- Application creation and configuration
- Agent network creation
- Asset publication in Exchange
- Instance deployment and management to CloudHub 2.0 and Runtime Fabric
- Application security
These features look very promising for a CLI agent. Let’s set them up.

Prerequisites
- Enable Agentforce for Anypoint platform - Ref
- Install Node.js 20 or later - Ref
- Organization admin access to create a connected app - Ref
Connected App Creation
- Log in to Anypoint Platform.
- Under Access Management, click Connected Apps.
- Click Create App. Add a name for the connected app.
- Select App acts on its own behalf (client credentials).
- Click on Add Scopes. Add the scopes mentioned in the below table.
| Anypoint Code Builder | Mule Developer Generative AI User |
|---|---|
| Anypoint Monitoring | Monitoring Viewer |
| Anypoint Code Builder | Mule Developer Generative AI User |
| API Manager | Manage APIs Configuration |
| Manage APIs Configuration | |
| View APIs Configuration | |
| Exchange | Exchange Administrator |
| Exchange Contributor | |
| Exchange Creator | |
| Exchange Viewer | |
| General | View Connected Applications |
| View Organization | |
| OpenID | Profile |
| Runtime Manager | Cloudhub Network Viewer |
| Create Applications | |
| Read Applications | |
| Read Runtime Fabrics |
- Click on Save to save the new connected app.
The OG: Terminal
- Now open
The OG: Terminal. Set the environment variables for the terminal session.
macOS/Linux
export ANYPOINT_CLIENT_ID="<CLIENT_ID>"
export ANYPOINT_CLIENT_SECRET="<CLIENT_SECRET>"
Optional
export ANYPOINT_REGION="<REGION_NAME>"
Windows
$env:ANYPOINT_CLIENT_ID="<CLIENT_ID>"
$env:ANYPOINT_CLIENT_SECRET="<CLIENT_SECRET>"
Optional
$env:ANYPOINT_REGION="<REGION_NAME>"
CLI Coding Agents
Setup is complete on the Anypoint side and the env variables are set in the terminal. Let’s make the terminal smarter and equip it with MuleSoft DX MCP Server.
- Antigravity
- Copilot

Antigravity
- Install Antigravity CLI following the link
- Run the below command to start CLI. Log in using your google/gemini account.
agy
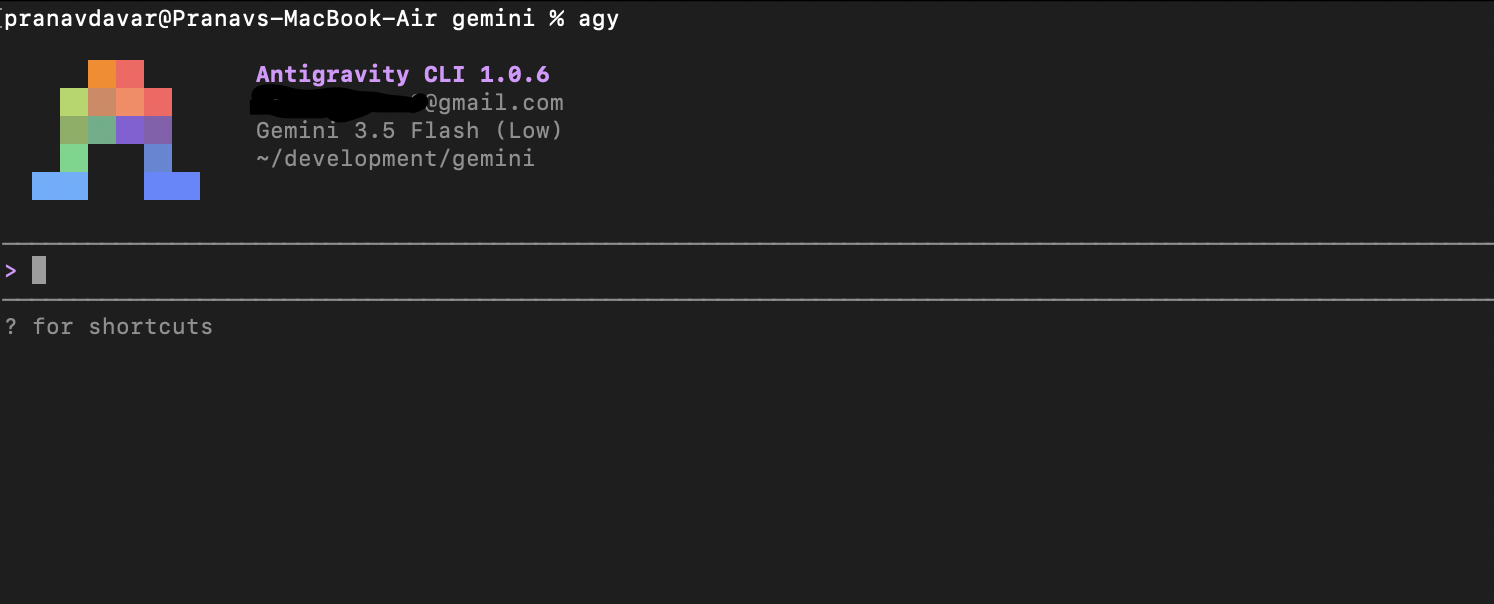
- Type
/mcp, press Enter.
MCP Servers

  No MCP servers configured.

Keyboard: ↑/↓ Navigate  enter Actions

esc to cancel
- As of now, no MCP servers are configured for antigravity-cli.
MCP Server configuration
- Antigravity lets you setup MCP server as Global setup or Workspace Local setup.
Global: ~/.gemini/antigravity-cli/mcp_config.json
Workspace local setups: .agents/mcp_config.json
- Update
mcp_config.jsonas below.
{
  "mcpServers": {
    "mulesoft": {
        "command": "npx",
        "args": ["-y", "mulesoft-mcp-server", "start"]
    }
  }
}
- Make sure that env variables were properly set for the terminal session.
- Let’s start antigravity.
agy
- Type
/mcp, press Enter.
MCP Servers
Plugins (~/.gemini/antigravity-cli/plugins)
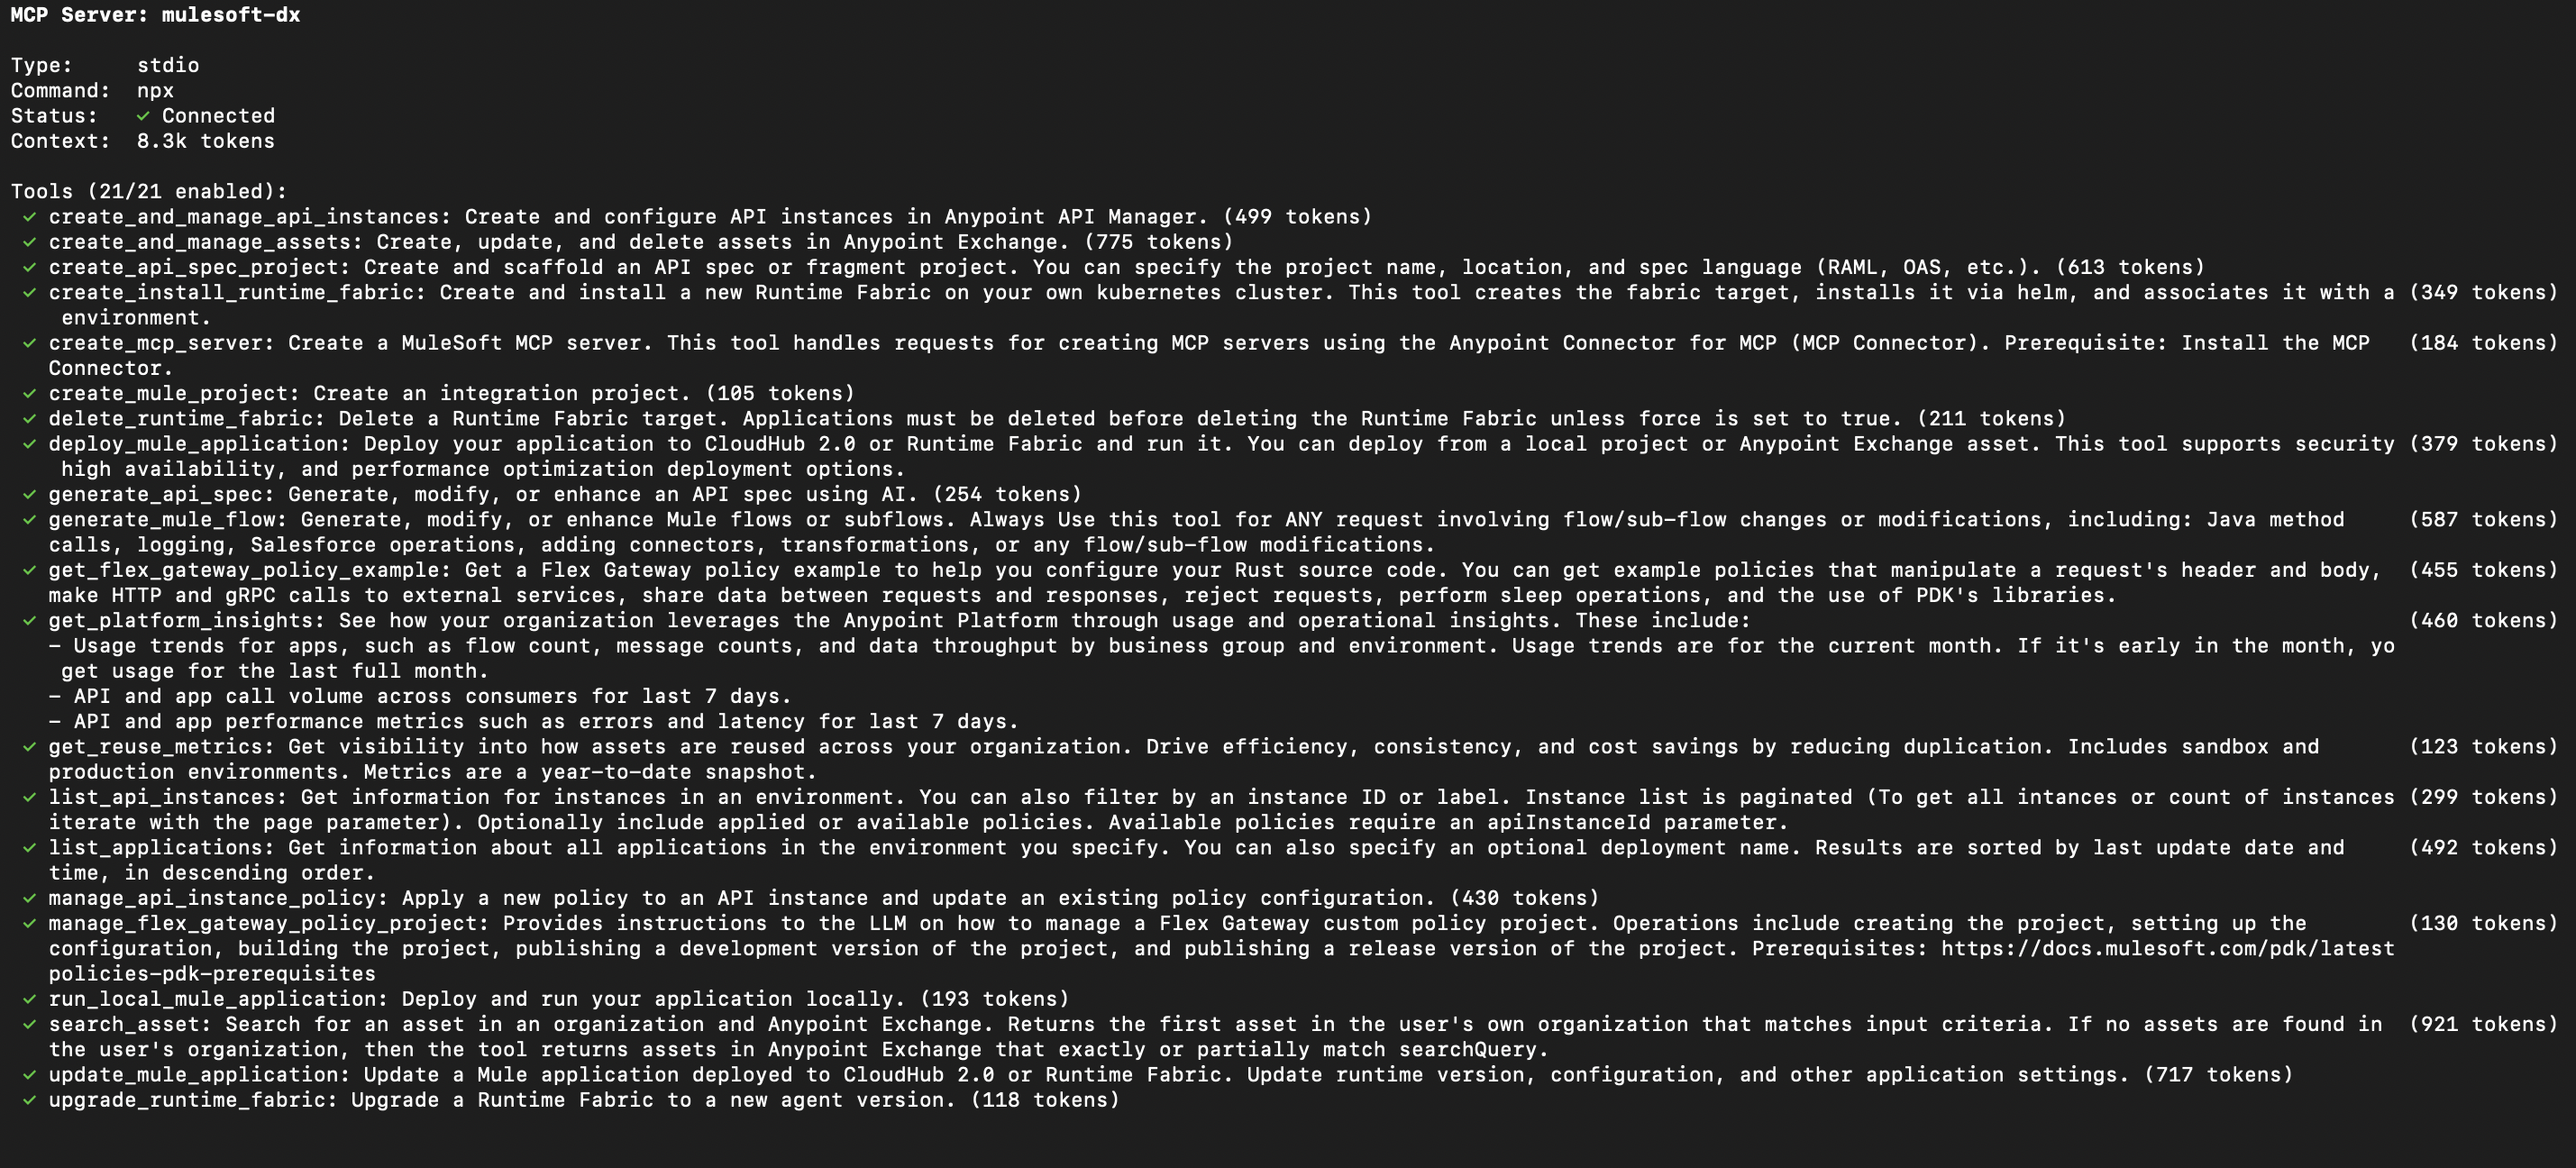
> ✓ mulesoft Tools: create_mule_project, generate_mule_flow, create_mcp_server, deploy_mule_application, list_applications, +16 more
Keyboard: ↑/↓ Navigate enter Actions
If you see the message similar to above then you are all set and ready to perform operations 😄
But wait, is it too easy????
Let’s get the hands dirty 😈
My initial prompts didn’t work and, it was not able to list the MCP tools 😞 Countless hours and tokens wasted 😫!!!
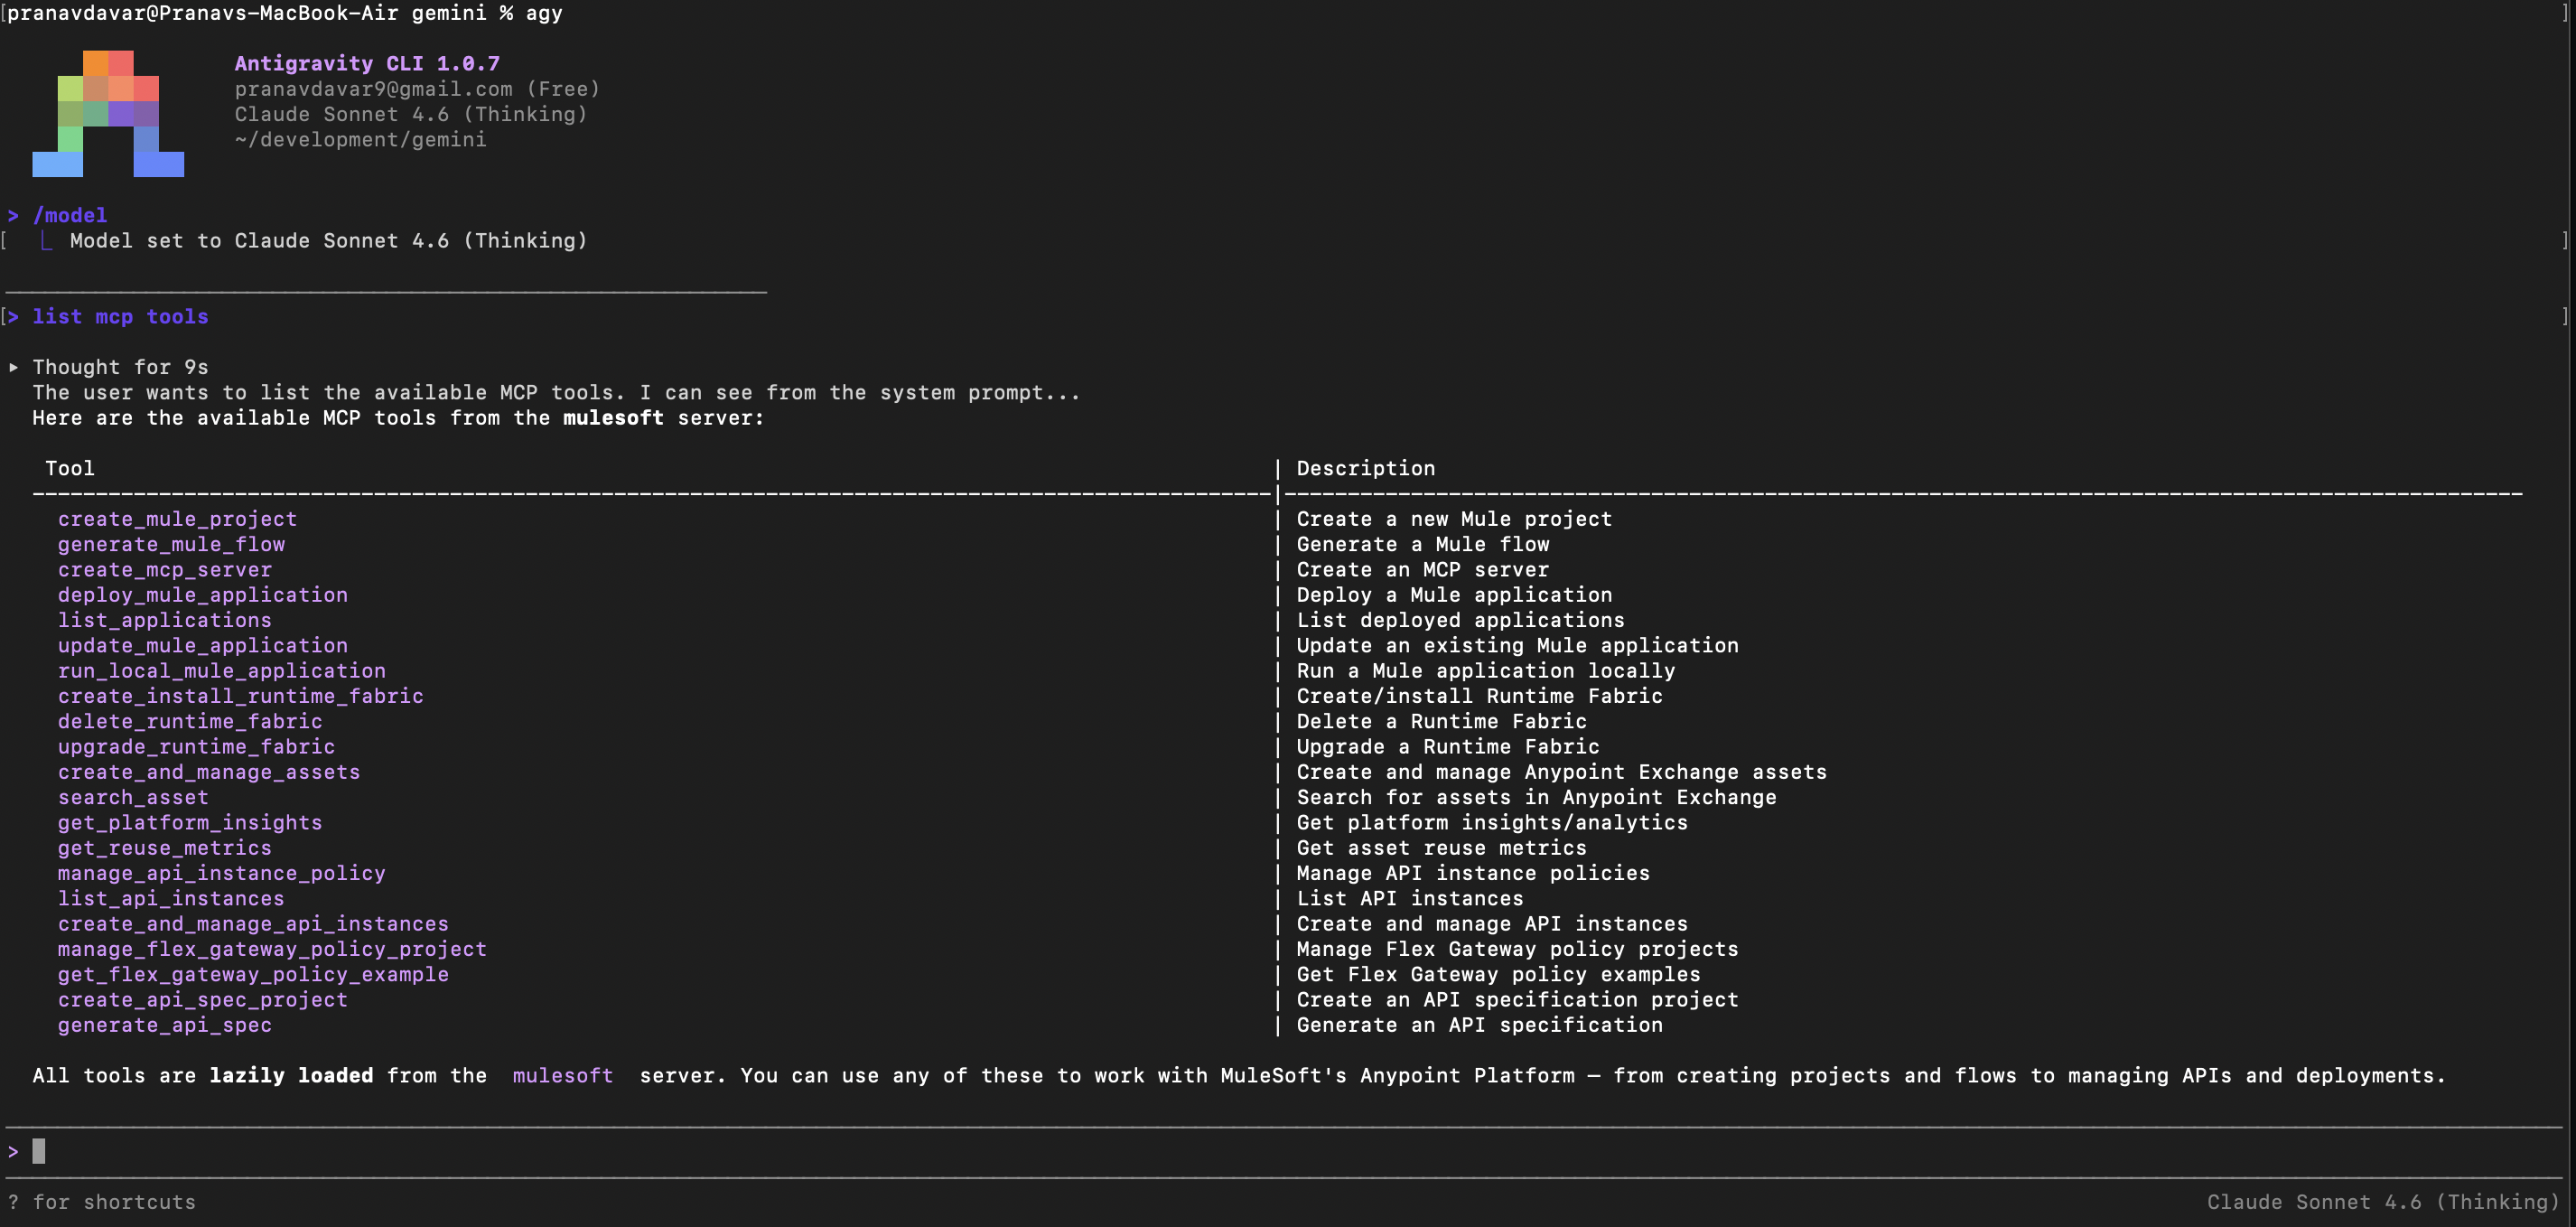
I kept on trying…. I kept trying, and then I changed the /model to Claude Sonnet 4.6, and prompted:
list mcp tools
A good output 😎
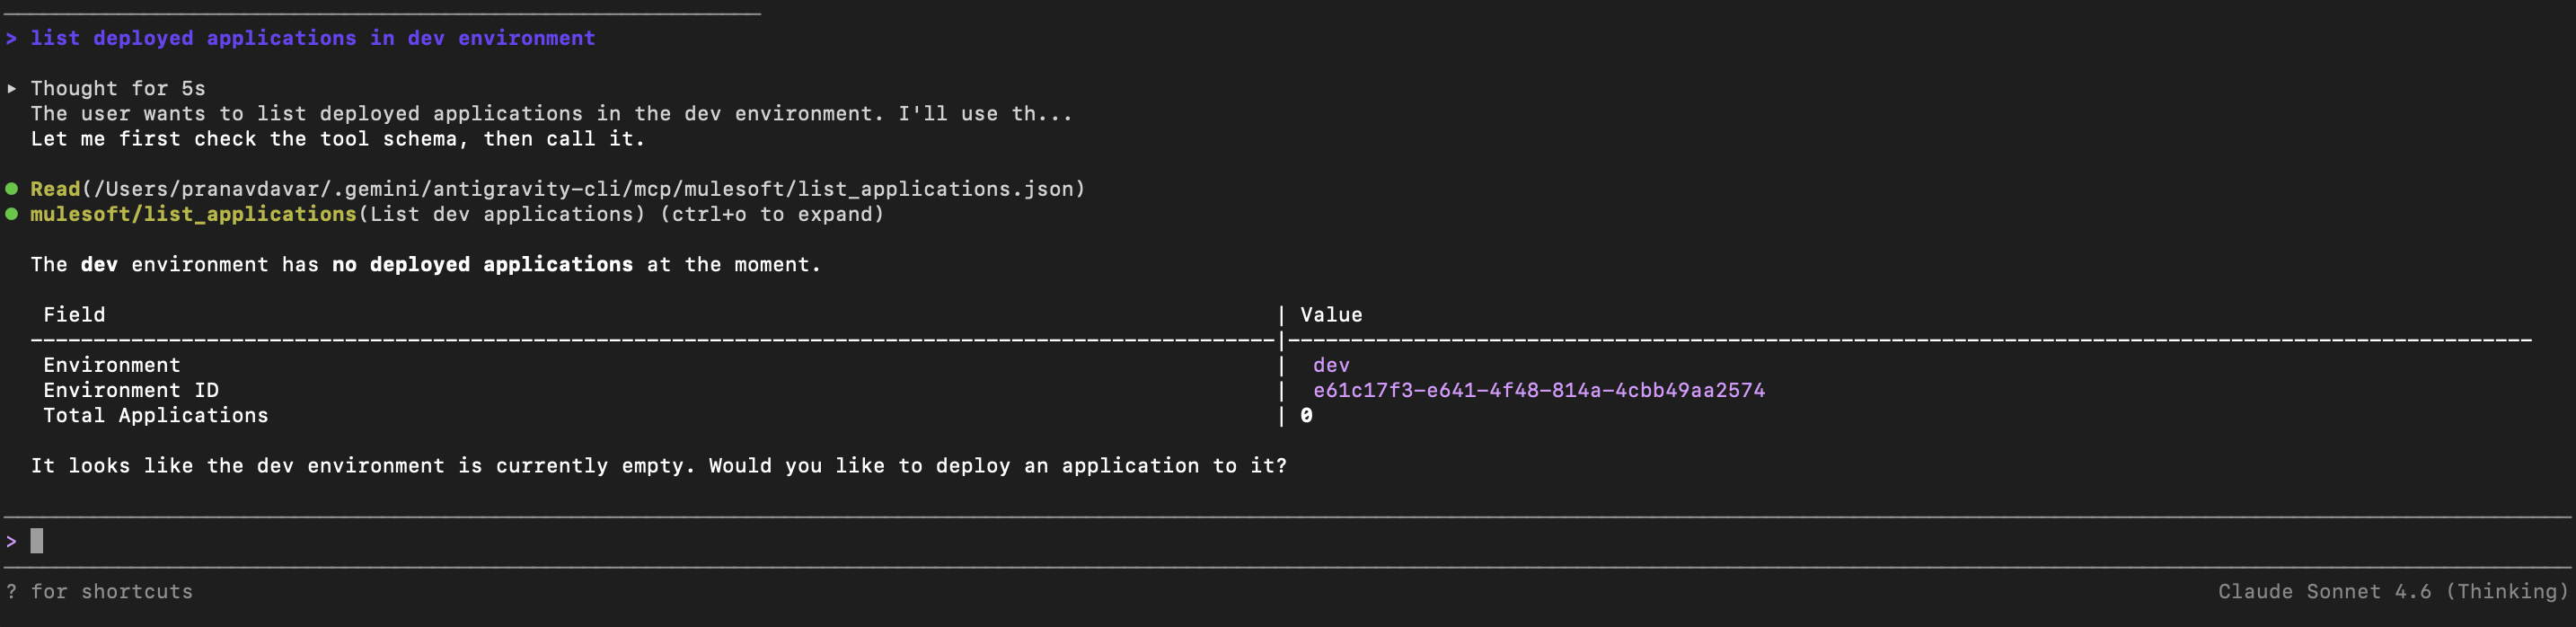
Another prompt
List deployed applications in dev environment.
Another success 😎
Copilot
- Install the copilot following the link
- Run the below command to check if copilot is working.
copilot
- Type
/loginand press enter. Follow instructions to log in to your GitHub account and activate GitHub Copilot. - To view list of available MCP servers type
/mcp showand press enter.
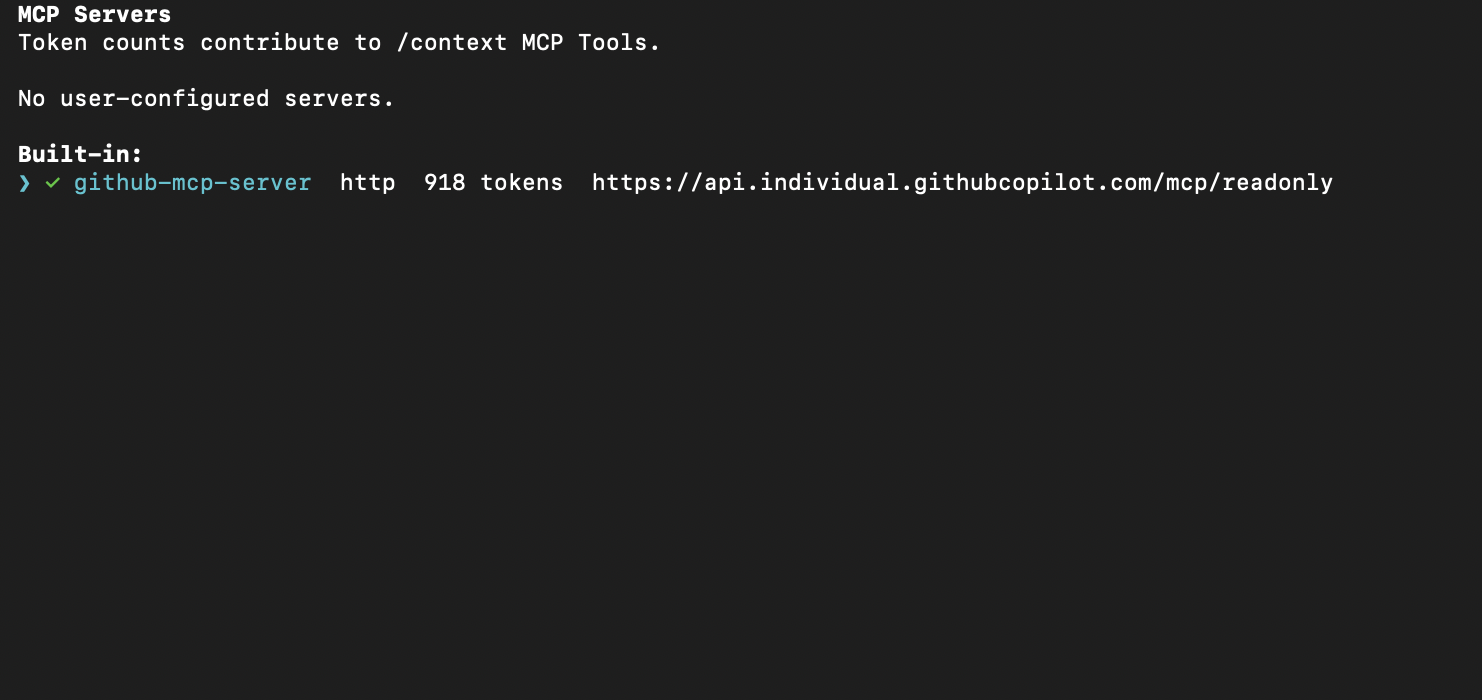
As of now only GitHub MCP server is enabled.
MCP Server configuration
- Type
/mcp addand press enter. Fill in details as per below table.
| Server Name: | mulesoft-dx |
|---|---|
| Server Type: | STDIO |
| Command to start the server: | npx -y mulesoft-mcp-server start |
| Environment variables: | Add the env variables of ANYPOINT_CLIENT_ID and ANYPOINT_CLIENT_SECRET if not configured in terminal env else keep it blank. |
| Tools: | * |
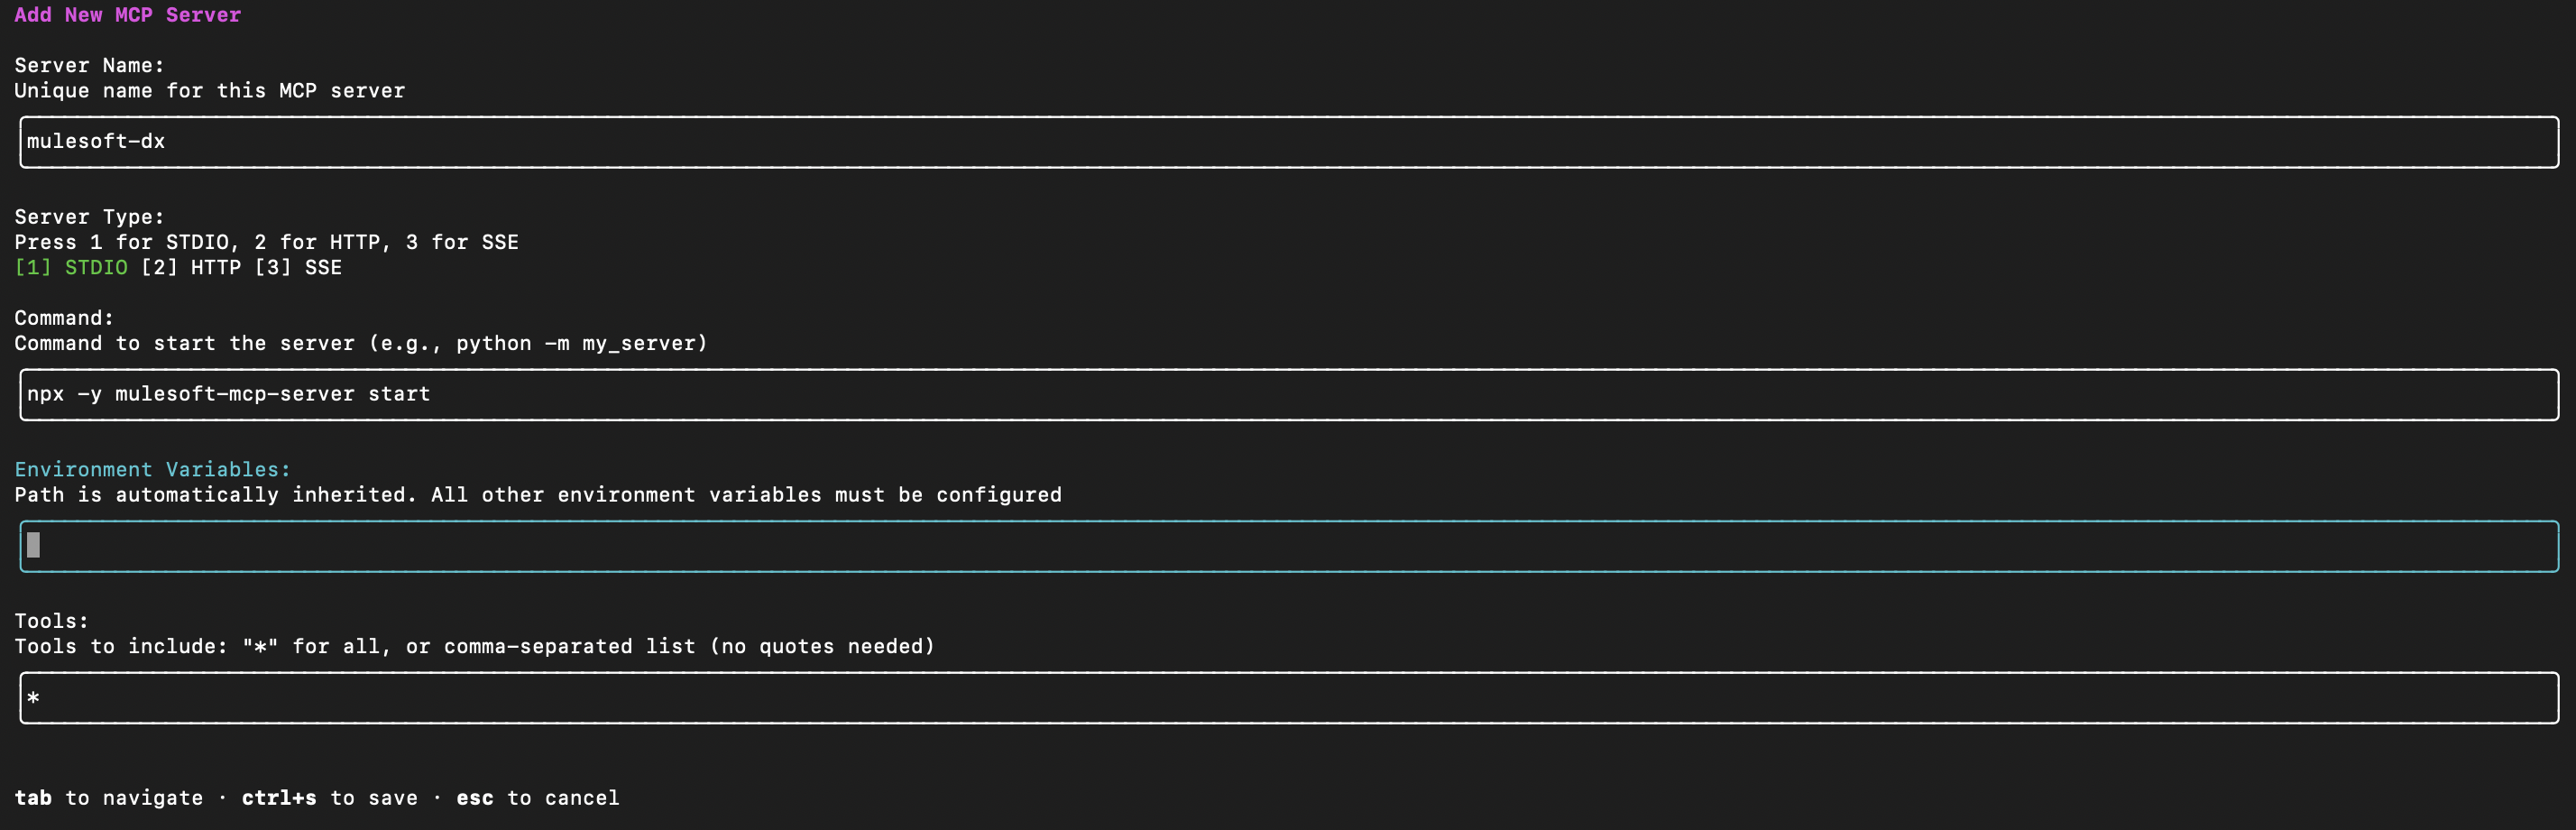
ctrl+sto save the MCP server configuration.
Moment of truth
Prompt
List deployed applications in dev environment.

Now, CLI agent has got MuleSoft DX MCP Server.

References
- https://docs.mulesoft.com/access-management/enabling-agentforce
- https://docs.mulesoft.com/access-management/connected-apps-overview
- https://docs.mulesoft.com/mulesoft-mcp-server/getting-started
- https://antigravity.google/download#antigravity-cli
- https://github.com/features/copilot/cli
- https://antigravity.google/docs/cli-plugins#model-context-protocol-mcp
- https://github.com/features/copilot/cli